BTTF3 DeLorean


Interior
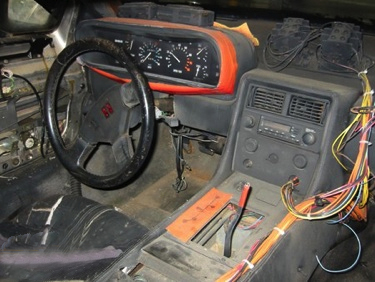
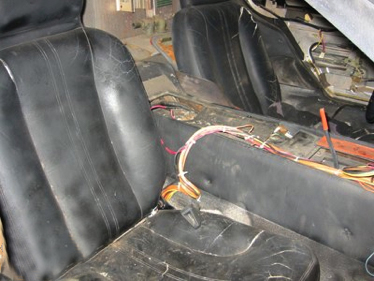
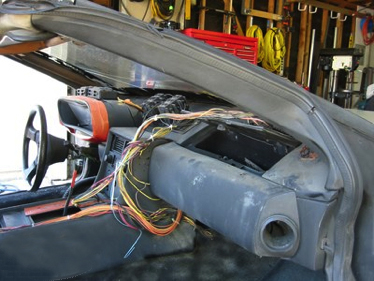
This is where the years of leaving the car abandoned on the Universal backlot in the weather took it’s toll. As well, probably even worse is the damage that was done to the interior when preparing it for display at the Petersen Museum. As you can see in the before pictures, it was a disaster. Not one piece of leather or carpet went unpainted with black spray paint. The years of sun and weather shredded the leather seats.
|

|
|
|
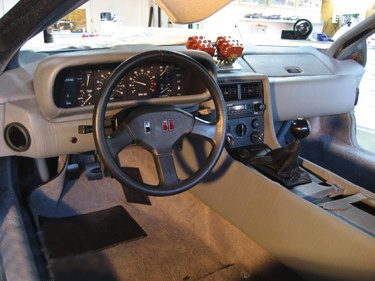
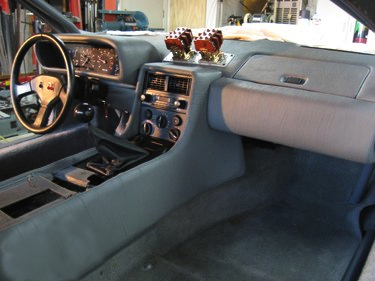
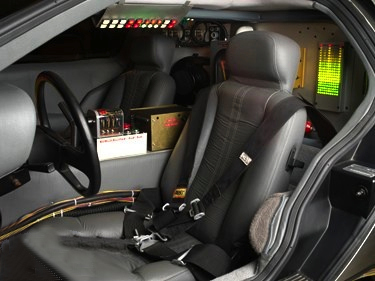
The following two pictures show the interior after restoration of the base DeLorean parts and before installing all of the props.
|
|
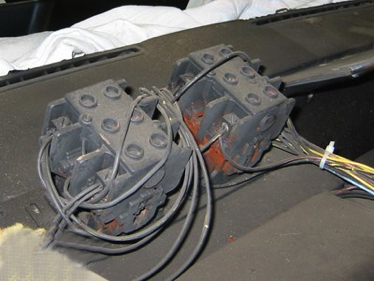
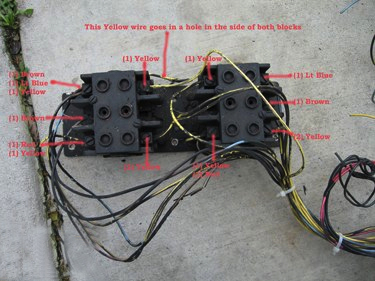
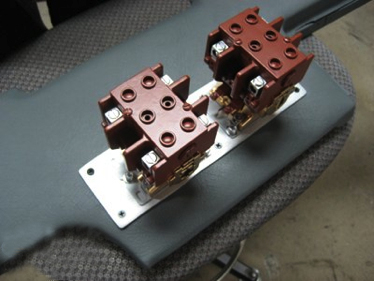
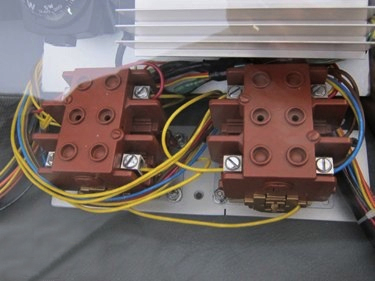
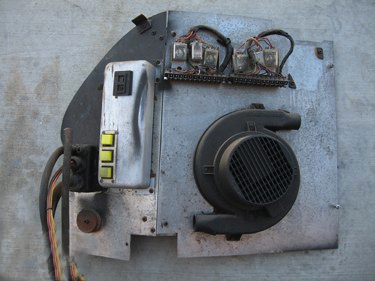
Below are the “contactor” devices that were attached to the center of the dashboard. They needed massive restoration to reverse the damage that was done to them. We kept track of exactly which wire went where so new wires could be installed the same way.
|
|
|
|
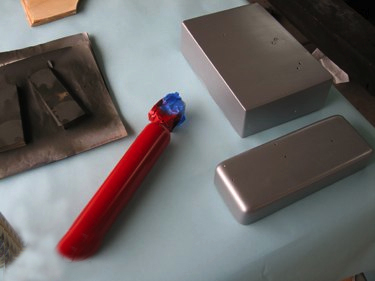
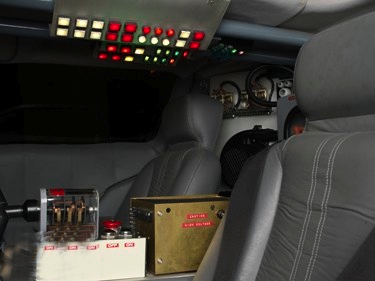
This small box with props from behind the drivers seat was carefully disassembled, then the wood box was covered in some fiberglass resin, sanded smooth, then repainted. All of the components were repainted to match their original colors.
|
|
|
|
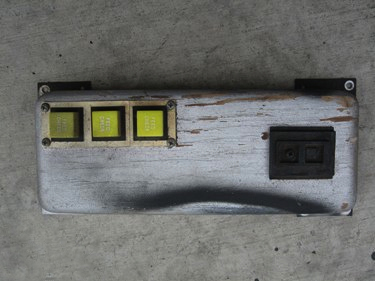
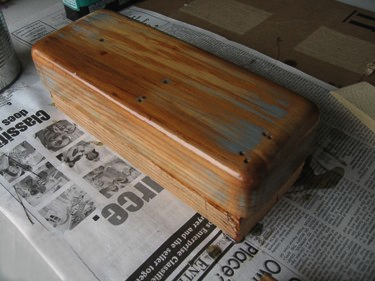
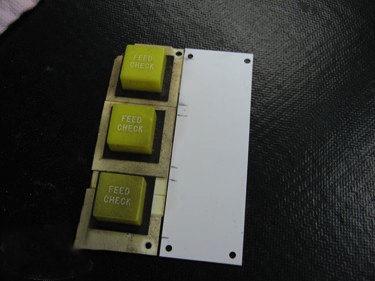
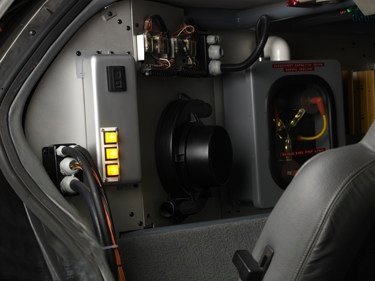
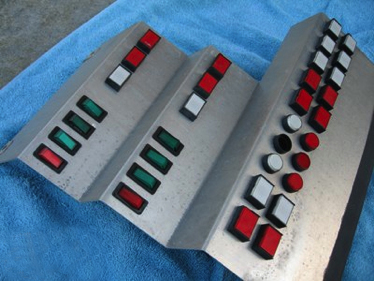
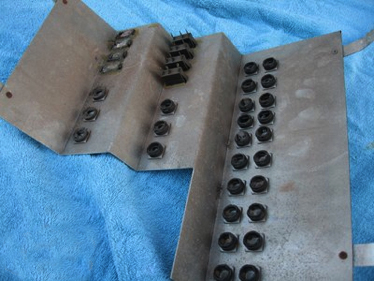
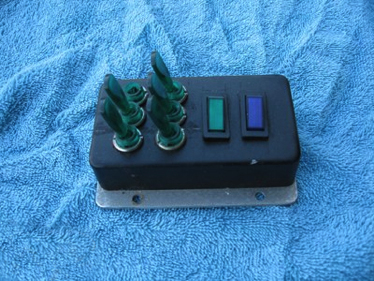
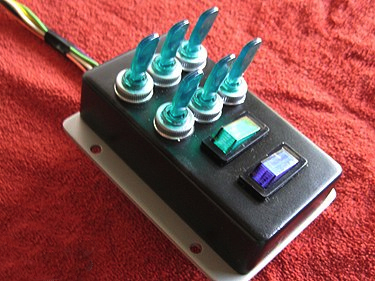
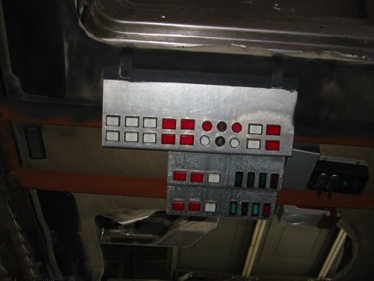
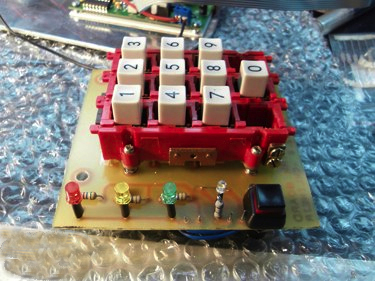
This box was on the rear panel behind the passenger seat. It was also disassembled and restored, starting with the wood block by covering it in fiberglass resin to seal it for the future. The attached buttons were removed, cleaned up, and a new white baseplate was created. These did not have lights in them before, so we added LEDs.
|
|
|
|
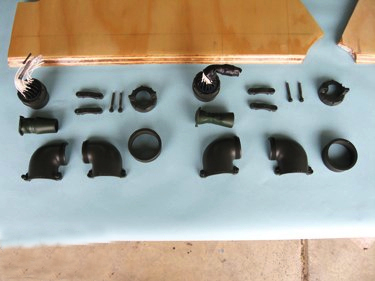
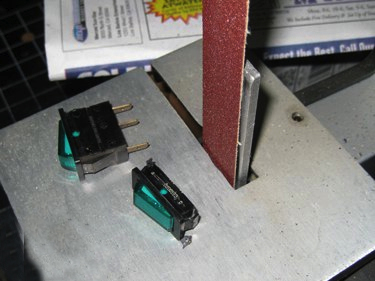
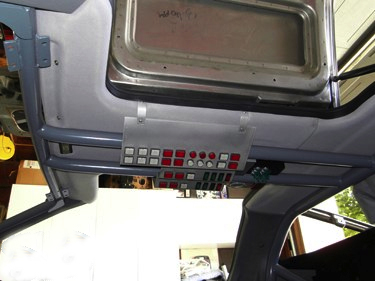
The overhead panel was removed and disassembled. The metal plate was cleaned then anodized clear. These panels were also not setup to be lighted in this car, so we added LEDs here as well. Because of the tight fit around the roll cage, each of the longer buttons had to be ground down before inserting the LEDs.
|
|
|
|
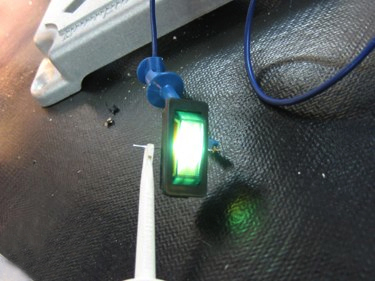
This small box on the roof mounted behind the large panel was damaged and had a broken switch. It was rebuilt and also had LEDs installed.
|
|
After restoration with added lighting on the left, and on the right is the rear of the panel.
|
|
Before restoration on the left (note the rusty roll cage and black spray paint), and on the right after restoration.
|
|
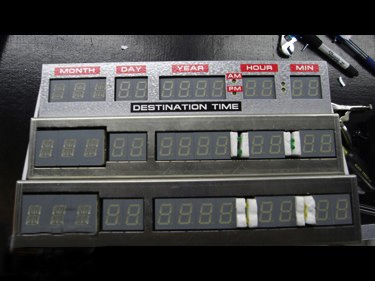
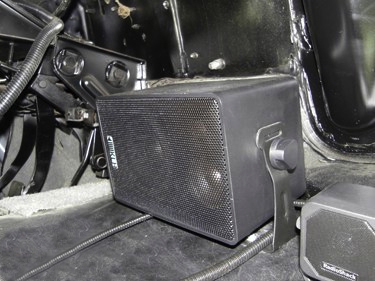
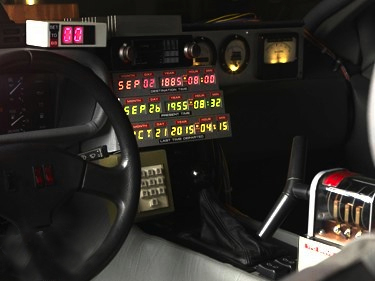
The time display was created for us, and we assembled the pieces where needed. Everything was installed with modular connectors in case the components need to be removed for repair later. Speakers were added under the dashboard for various sound effects.
|
|
|
|
|
|
Below is a short video showing the sound effects and the time circuits.
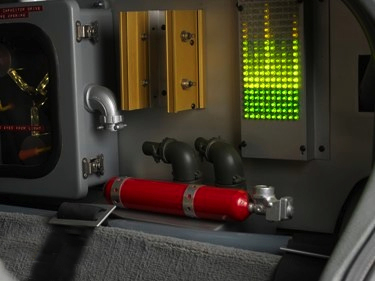
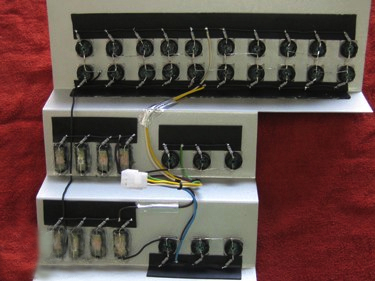
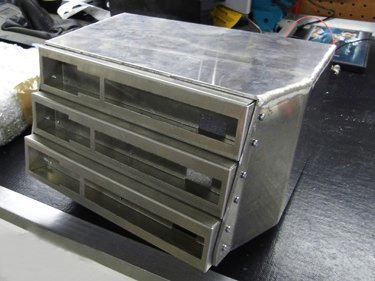
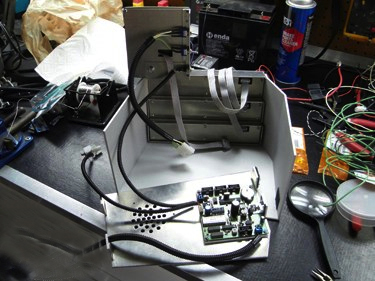
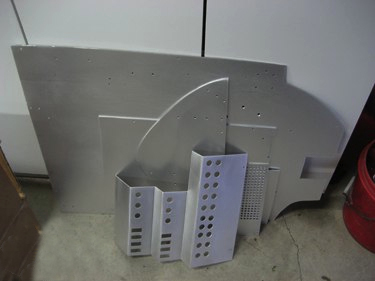
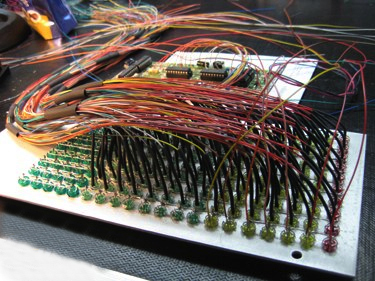
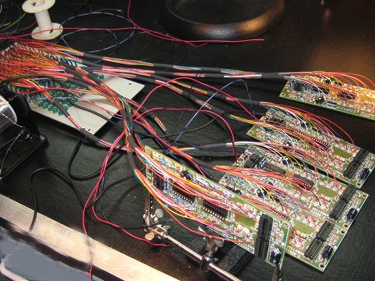
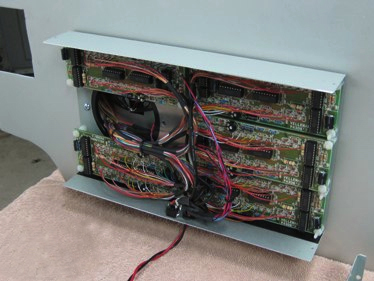
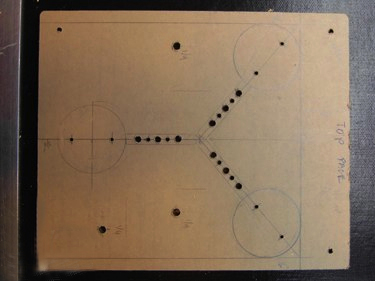
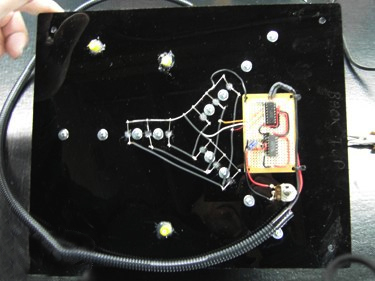
Three rear aluminum panels were removed, cleaned, and anodized clear. In this particular car, the “spectrum analyzer” device was not wired up with lights. During filming, when there is a close up shot with Michael J. Fox, it was usually in the process car that contained all of the interior props and lighting. We installed LEDs across the entire panel, wired them to five circuit boards, then installed the equipment in a metal enclosure. Sound devices were added that supply constant music signals to the lights on this panel so the lights move up and down.
|

|
|
|
|
|
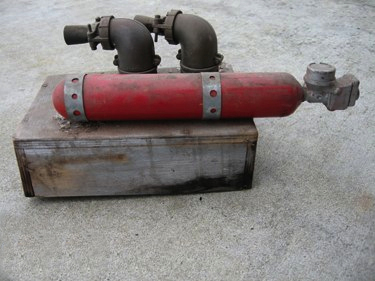
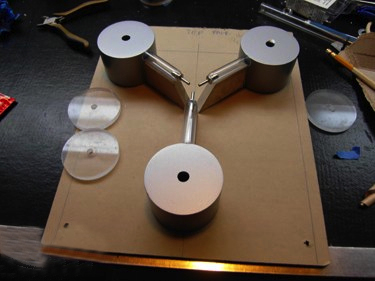
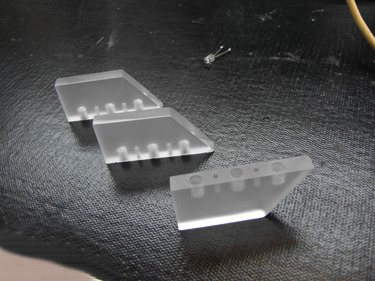
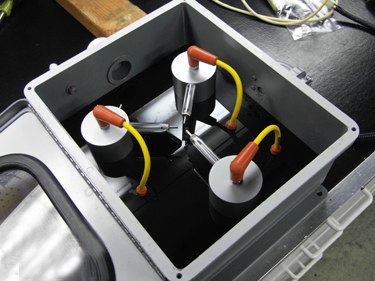
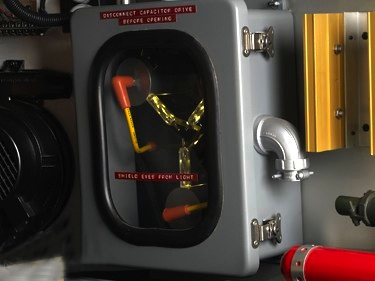
We acquired a flux capacitor from a friend, and it included many accurate parts, however it was modeled after the more detailed cars from the first movie. We ended up changing out the inside pieces to make them match the flux capacitor that was actually in this car. It has much less detail, and the original was not lighted, however we added LEDs to this one along with circuitry to provide the “chaser” light pattern seen in the movie.
|
|
|
|
|
|
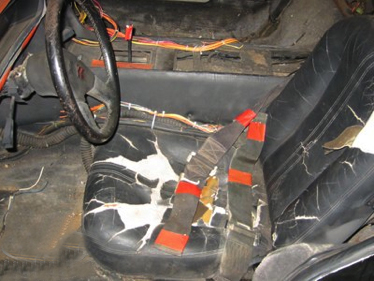
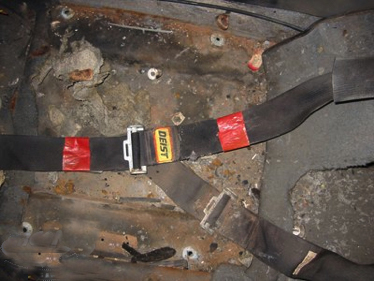
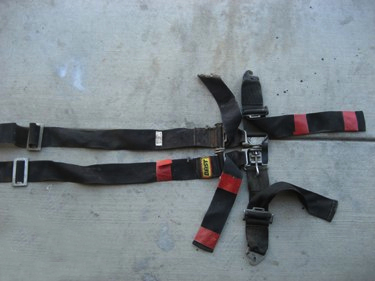
This car was equipped with a 5 point racing harness seat belt. The belts had several pieces of red duct tape put on them previously, which has been removed. The belts and hardware were then restored and reinstalled.
|
|
|
|
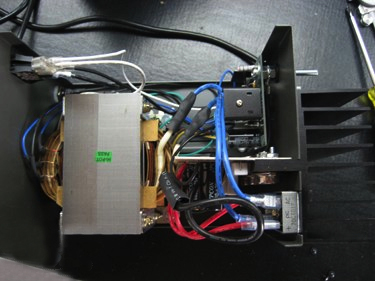
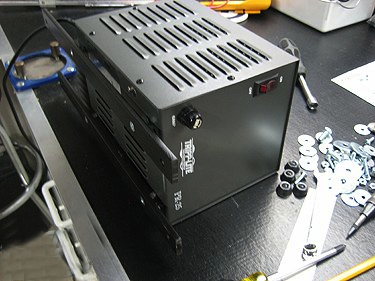
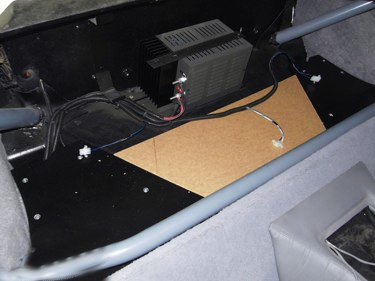
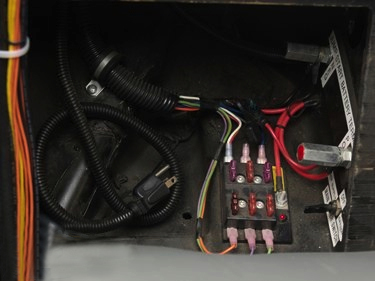
As part of the new electrical wiring, a power supply was installed so that everything can be run either on the car’s battery (located in the engine compartment) or with a 120v power cord.
|
|
|
|


Restoration images courtesy of Brian DosSantos, final completed pictures courtesy of Eric DosSantos, and most text courtesy of ScreenUsed. All other images are property of the respective movie studio or copyright owner.