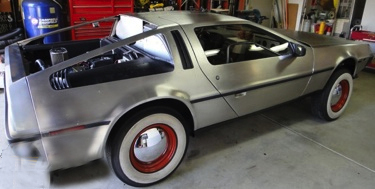
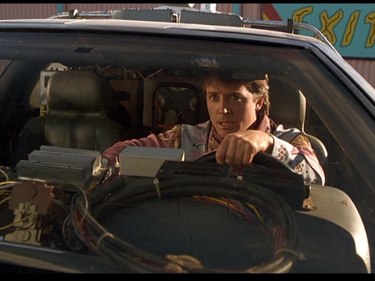
BTTF3 DeLorean

Engine and Chassis
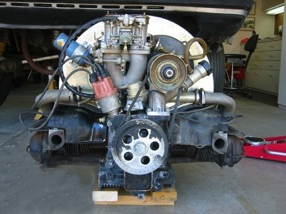
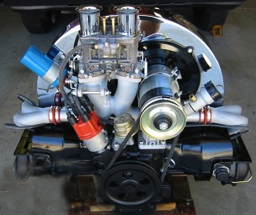 The first task was to get the car running again. The Volkswagen engine and transaxle had been sitting in the car, and possibly not started or run for 15 years. On the left is the before picture and on the right is after the restoration. During this process the compression was also checked to make sure the engine was still tight. Once that was complete, the engine was taken apart, cleaned up, new gaskets installed, then reassembled. All original parts were reused except for gaskets, spark plugs, wires, rotor, cap, belt, and the fuel pump. The engine was then reinstalled back in to the car and connected to the transaxle. The video on the right is the initial startup after priming the carb with some fuel. It started, but ran a bit rough. Next came a valve adjustment, and Weber carb rebuild, which got things running better.
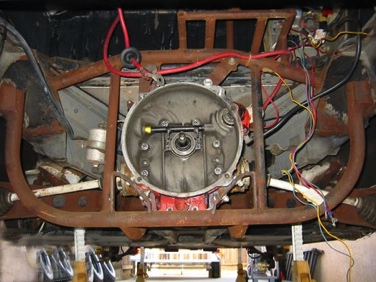
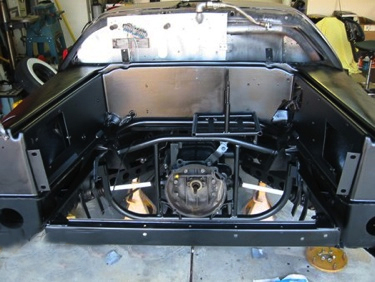
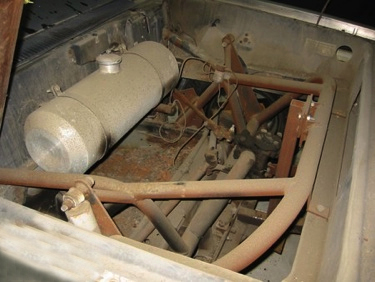
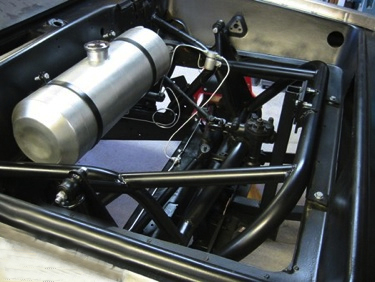
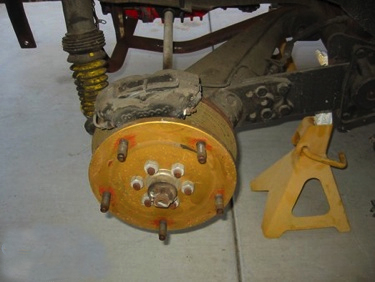
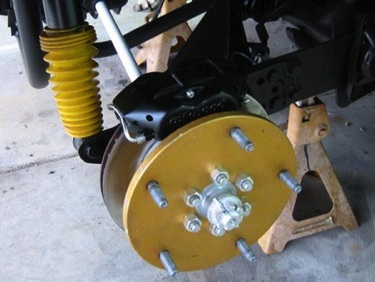
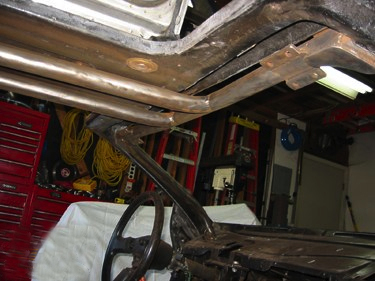
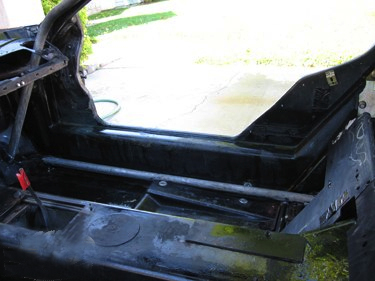
Moving on to the chassis, both the front and rear sections of the DeLorean chassis were removed and/or cut off. They were replaced with a sand rail chassis, including sealed off-road hubs. The custom roll cage inside the interior is welded directly to this chassis. The sand rail chassis was covered in rust from the years left out in the weather, so lots of stripping and sanding, until the metal could be prepared and repainted. Below are before and after pictures of the rear chassis, front chassis, and the hubs.
|
|
|
|
|
|
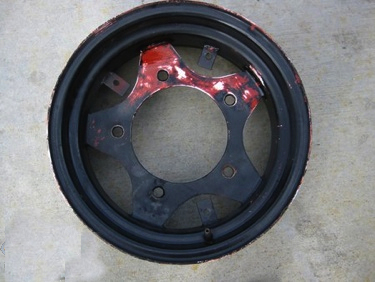
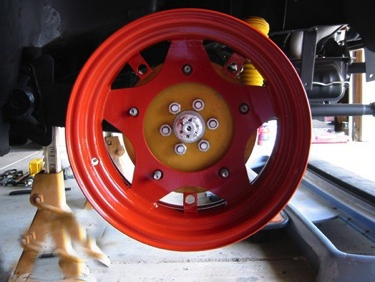
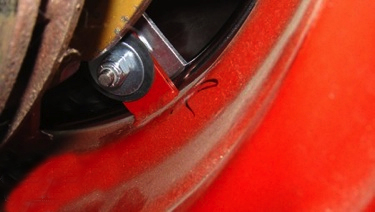
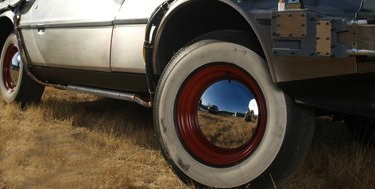
The wheels had been painted black when it was prepared for display at the Petersen Museum. We carefully sanded down the black paint until the original orange color of the wheels was visible, then we had paint mixed to match it exactly. Most people think the wheels are red in the movie, but in reality it is a somewhat brownish orange. Here are some before and after pictures - note the 3 metal welded tabs, as that is how the Moon hub caps are mounted.
|
|
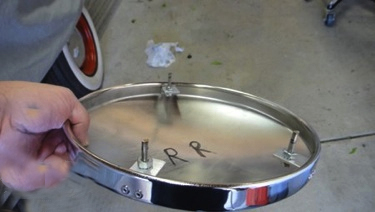
The tires were very old and did not hold air. However, to maintain the original whitewalls tires, we installed heavy duty inner tubes. Each wheel and tire were marked so they went back on the car on the exact same corner. Below are the custom tabs created for the hub caps to mount on the tabs located on each wheel.
|
|
|
|
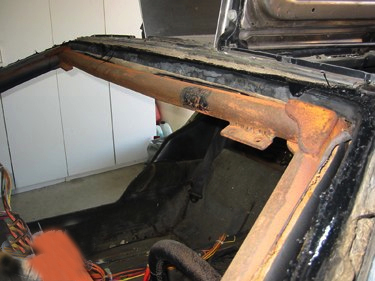
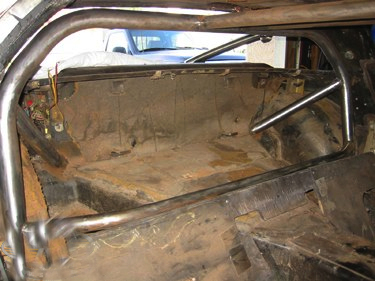
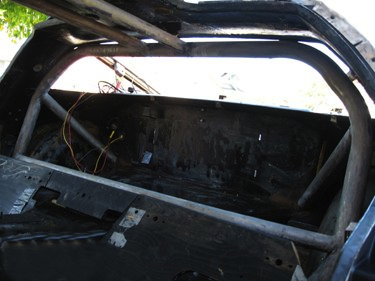
The chassis was tied into an integral roll cage throughout the interior. This was a tough decision when restoring the roll cage, because there is a large scratched area that can be seen on screen above MJF’s head. However, the roll cage was completely covered in rust, so we couldn’t leave it as is. A complete acid wash was done on the bars, then sanding, treating, primer, then paint. Even though it looks like possibly a black color on screen, it was definitely grey. We found several areas throughout the car where rust did not get to sections of the roll cage and were able to see clean samples of the color in order to get the same color mixed.
|
|
|
|
|
|
|
|


Restoration images courtesy of Brian DosSantos, final completed pictures courtesy of Eric DosSantos, and most text courtesy of ScreenUsed. All other images are property of the respective movie studio or copyright owner.